
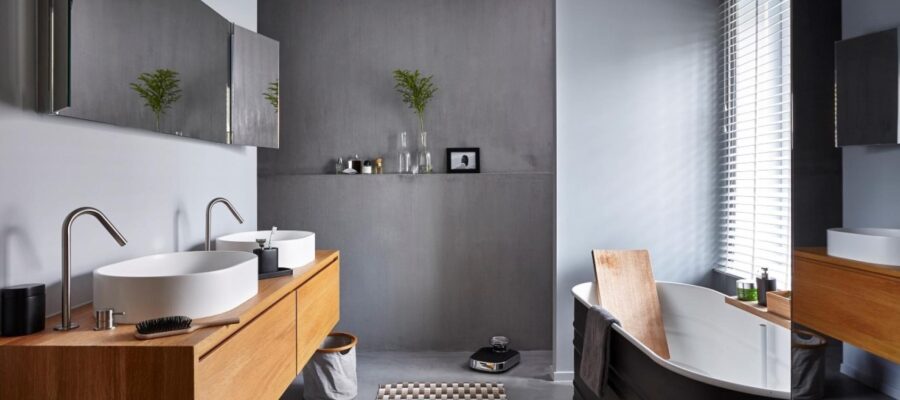
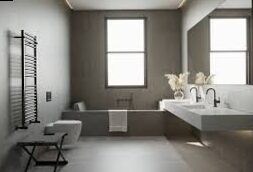
Your tiles in your bathroom, needs to be changed or renovated but you have neither the time nor the energy to do important work? Is it possible to coat the tiled floor or the walls with waxed concrete? Yes, waxed concrete on tiles in the bathroom is a quick and modern solution for a quick and contemporary refreshment!
Waxed concrete is an excellent option for bathrooms because it offers a smooth and elegant finish. In addition, waxed concrete is easy to clean and resistant to humidity, which makes it ideal for bathrooms. The good news is that you can replace your old tiles with waxed concrete, just prepare the support with a simple equalization mortar according to a simple technique that we will explain here
The advantages of waxed concrete on tiles
Replacing an existing tile with waxed concrete makes it possible to obtain a uniform surface without joints or ruptures which facilitates maintenance unlike the tiles whose joints are gradually crashing. To obtain this result and make the joints of the tiles disappear, the surface whether vertical or horizontal, will be equalized beforehand to receive waxed concrete. Indeed, waxed concrete is a millimeter coating which is not intended to catch up with levels.
The ease of installation and the solidity of this coating, as well as its low thickness, give it many advantages, in particular to be used on all existing surfaces – tiles, earthenware, sandstone etc … provided that they are healthy and stable , a project within the reach of all the DIY enthusiasts provided that they apply to respect some simple implementation techniques, and durability in time because it is resistant and robust.
Apply waxed concrete to a bathroom tiled bathroom
Covering a soil with waxed concrete requires some recommendations. Before applying the hook sub-layer which is the very first step, make sure that the surface is clear, clean and dry. You can switch to the 2nd stage, the hard -soil preparation mortar, once the under layer is dry. Make sure that your hard floor is placed regularly on 1 to 2mm thick, then once it is dry with a touchdown, re -moisten the surface with a vaporizer, then tall the material by carrying out a circular movement. Leave to dry this preparation for at least 12 hours.
You are ready for the final stage, the waxed concrete. The success of your deorative plaster largely depends on the right respect for drying times between each step
For good ground protection, an additional varnish can be used in addition to the basic varnish. To sublimate maintain the waxed concrete on the ground, liquid wax is an ideal product!
Apply waxed concrete on a tiled wall of a bathroom
The recommendations on vertical surfaces are identical that for horizontal surfaces, also use the preparation mortar The only difference is that a solid wax will be preferred in finish and for maintenance.
Do not neglect protection and finishing products such as varnishes and waxes, they are the guarantee of optimal protection and the insurance of the longevity of your coating.
The application of your detailed waxed concrete step by step in the bathroom
The first step to make before placing a waxed concrete on tiles is to apply a silica attachment underlay, which must be brushed on all the tiles then allow to dry. This first primer will allow the following plaster to be posed with easier.
1. For a tiled surface, it is important to place our «hard -soil» preparation mortar coated with lime and fiber glue. This coating, which is very robust once dry, makes it possible to obtain a homogeneous background more resistant to the impacts and makes it possible to make the ghost of joints and tiles disappear. As soon as the plaster has started to dry, use a wet Taloche for «Rub» the surface by eliminating the reliefs.
2.Ieuits, we go to the preparation strictly said waxed concrete: at home, you can buy ready -made to the use concrete kits, adapted to different surfaces; It is therefore not necessary to dose the different materials and it is enough to combine them with water and color until a homogeneous mixture is obtained. With a mixer or drill tool to avoid lumps and standardize the preparation, the mixture will be facilitated
3. The waxed concrete is then placed with a plaster, it is not necessary to wait for the complete drying of the 1st layer, you can pass the 2nd layer as soon as the 1st begins to change its shade of this second and Last pass, tighten the material carefully, the closer the material, the more smooth, solid and resistant.
4.You can, after a night of minimum 48 hours of drying, gently polish the flaws and imperfections visible on the surface, especially at the angles and places more difficult to access. You can also use fine at very late abrasive paper or with a sander
These subjects could also interest you:
latest posts published
The natural essence for personalized bedroom
The foundation of an authentic, natural bedroom
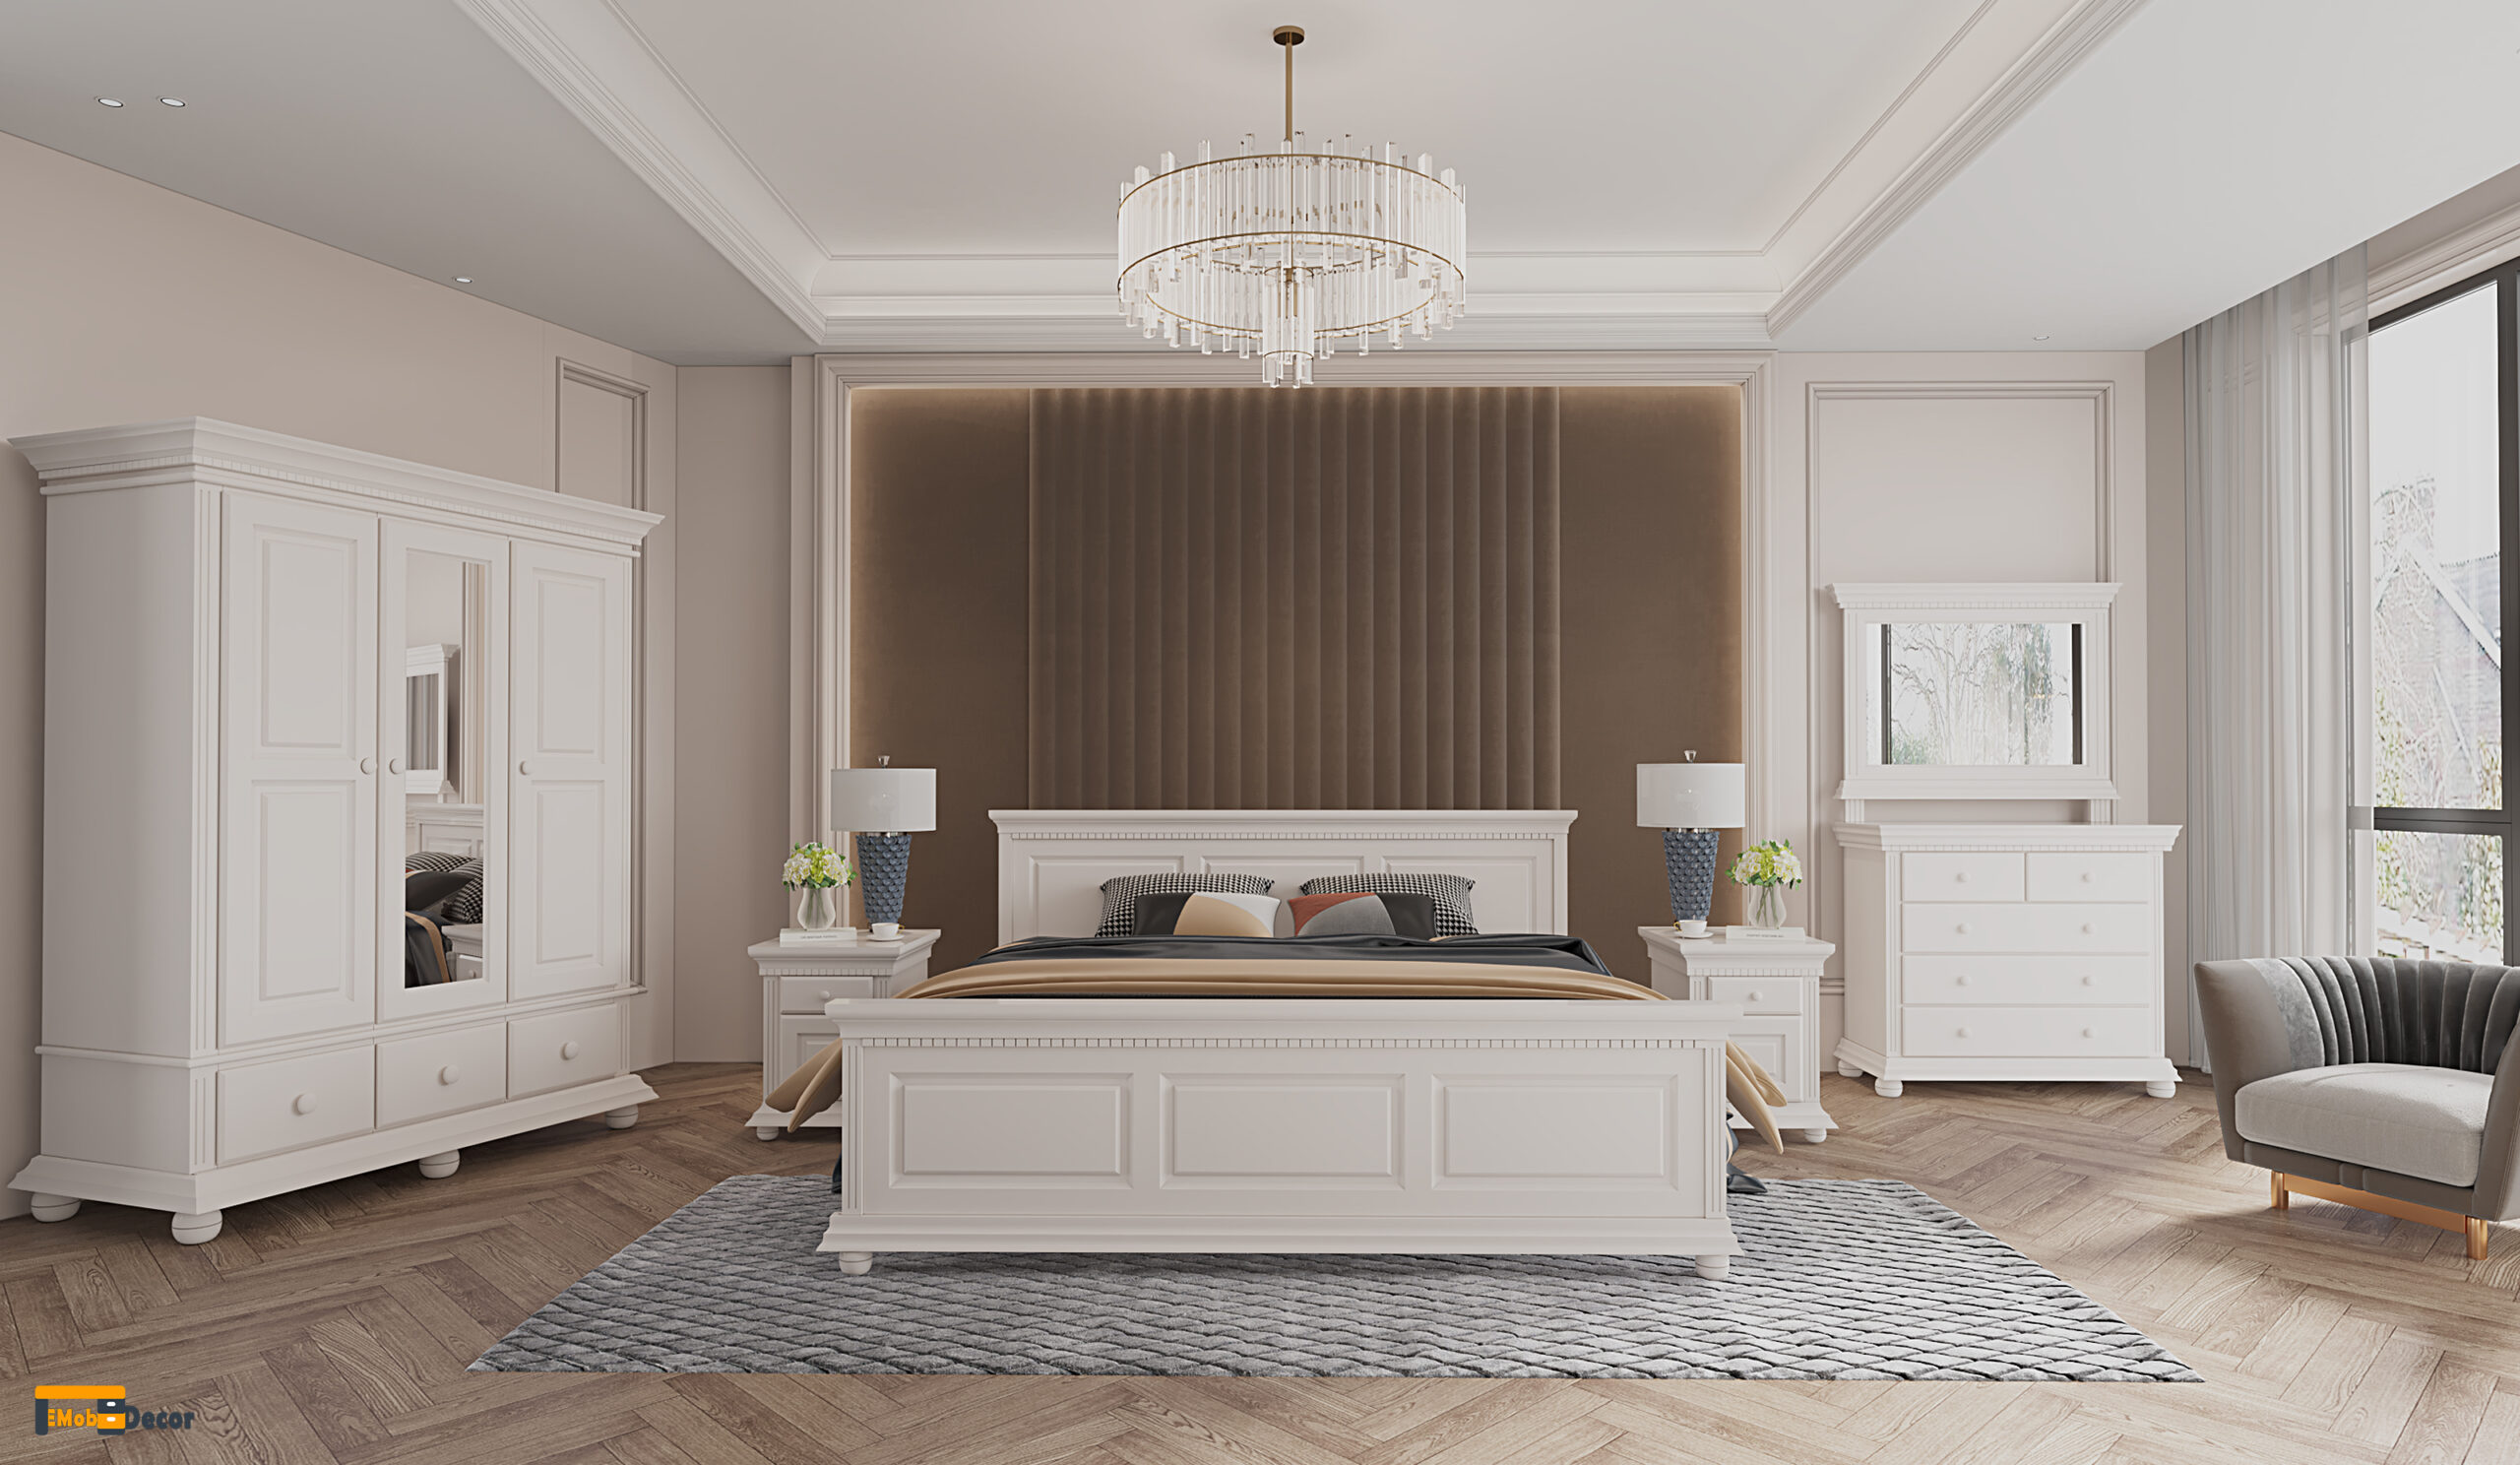
10 bedroom arrangement ideas for a new beginning »EmobDecor

a way to express your personal style
5 tips to find the right offer
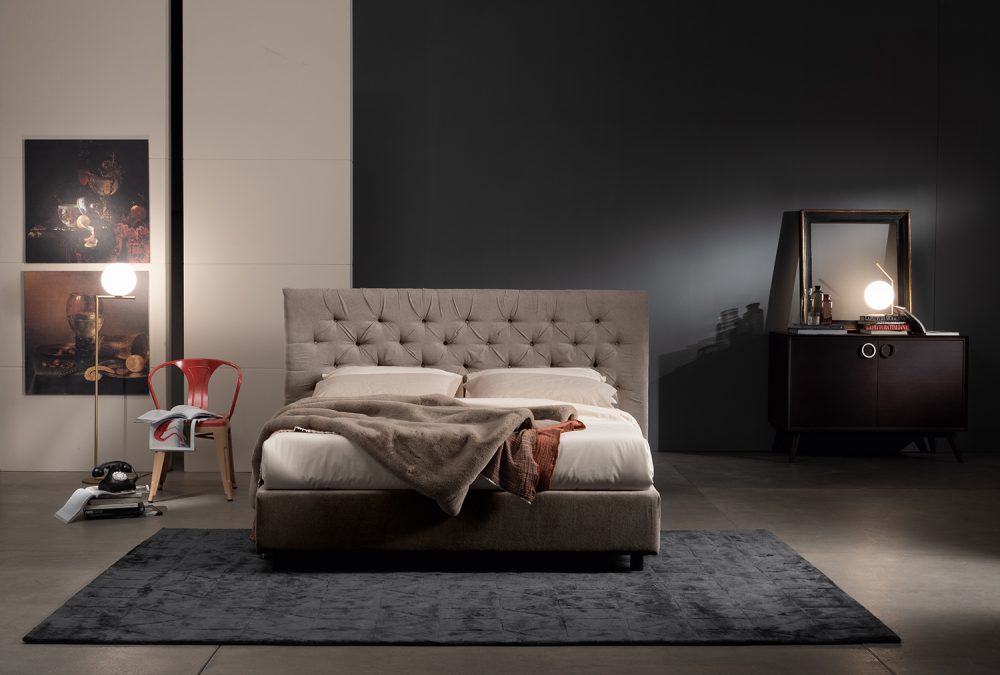
Bed upholstered with folding bed: ideal solution
Living solid wood: turn it into a natural refuge
Uses these interior design ideas house in the country
Models and modern curtains – tips and ideas »